24.9.3. PetPoint Add-On Setup
What does it do?
This integration between PetPoint and Clinic HQ is currently one-directional, meaning data flows from PetPoint into Clinic HQ. It allows you to import selected animal's data, and bulk import multiple animals at once.
In the future, PetPoint may choose to enable a two-way integration that allows data to be pulled from HQ back into PetPoint. However, this functionality would be managed solely by PetPoint, and we do not have control over if or when this will happen.
Even as a one-way integration, this system offers major time-saving benefits by streamlining your intake process and minimizing administrative workload. The first month to test the integration is free, then it is $99 per month.
What data comes over?
The following data can be pulled over in an import:
- Animal Name
- PetPoint ID
- Species
- Sex
- Weight
- Age
- Breed
- Color
- Attributes from PP (will be inserted as an animal note)
- Intake Date
- Microchip number
You can also assign behavior tags, mark caution, and add animal/appointment notes upon importing.
Turning on the integration
Step 1: Gather your setup information
- First, an administrator for the organization should submit a PetPoint support case requesting an API key to connect the PetPoint database to Clinic HQ.
- Next, check that your clinic has an active volume client for your shelter within HQ. If you do not have a volume client for your shelter, create one by going to Clients > Client Management > Create Volume Client.
Step 2: Turning on the integration
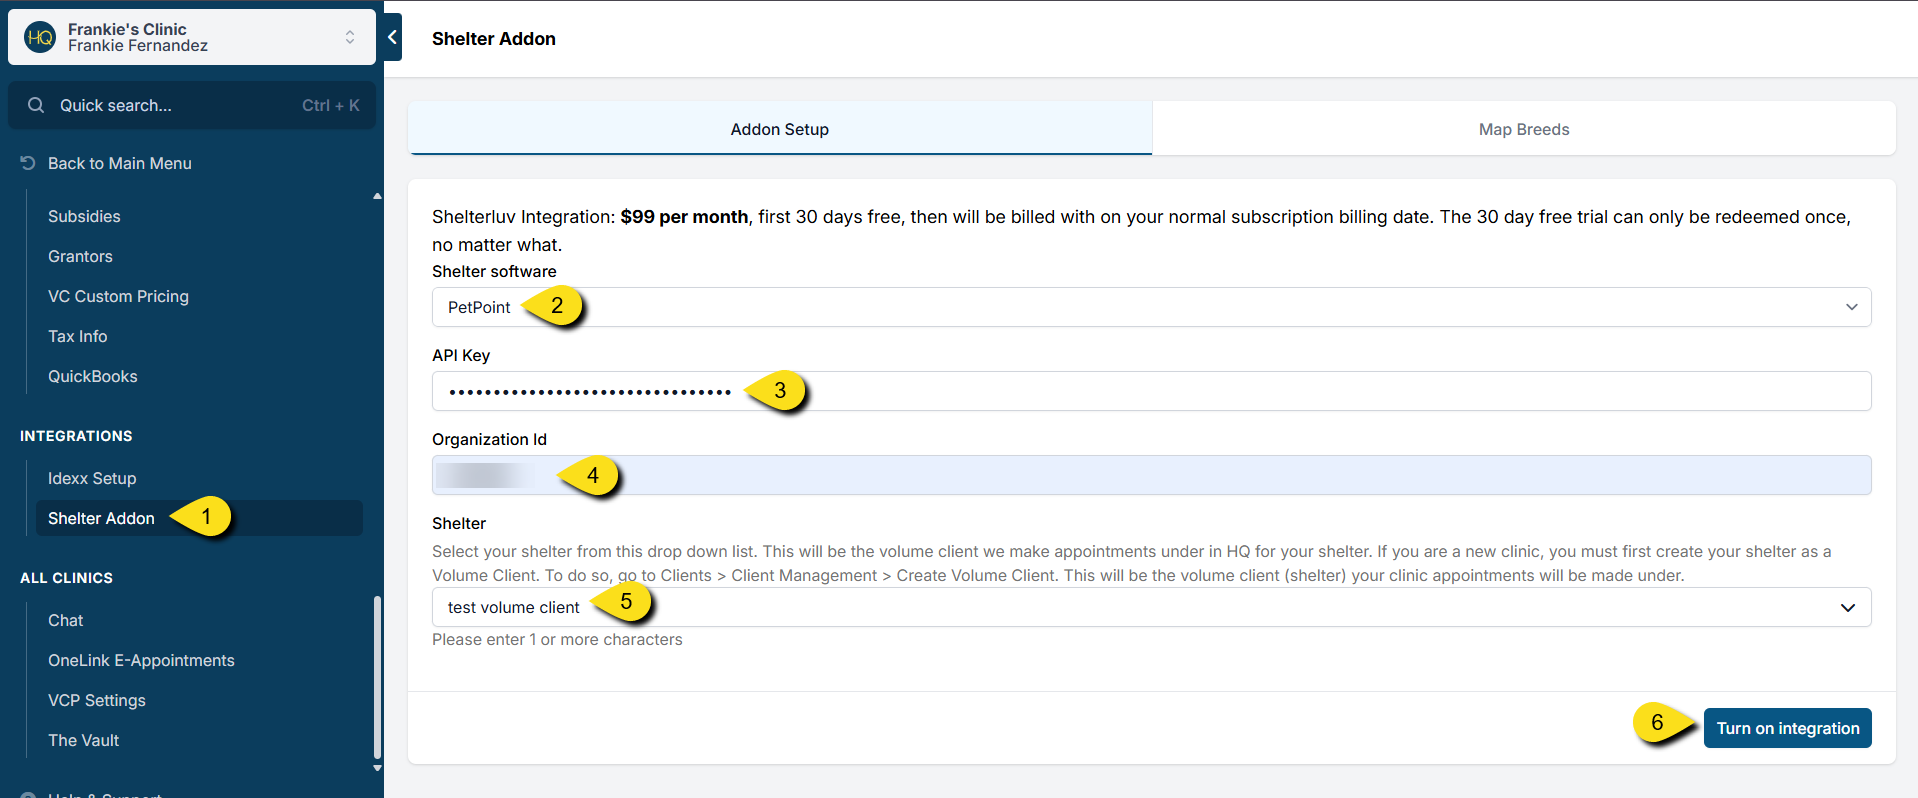
- Once you have your API key, open up Clinic HQ and go to Settings > Integrations > Shelter Addon.
- Select PetPoint from Shelter Software dropdown menu.
- You will copy and paste your API key into the corresponding field.
- The API link you will be given will have a unique Organization ID number at the end of the link. Copy and paste this into your Organization ID field in HQ.
- Next, select your shelter volume client from the Shelter dropdown list. This is the client your PetPoint animals will be imported under.
- Click Turn on Integration.
!IMPORTANT Note: Once you turn on the integration, your free 30 days starts. Please do not click the Turn on Integration button until you have your API key and are ready to roll.

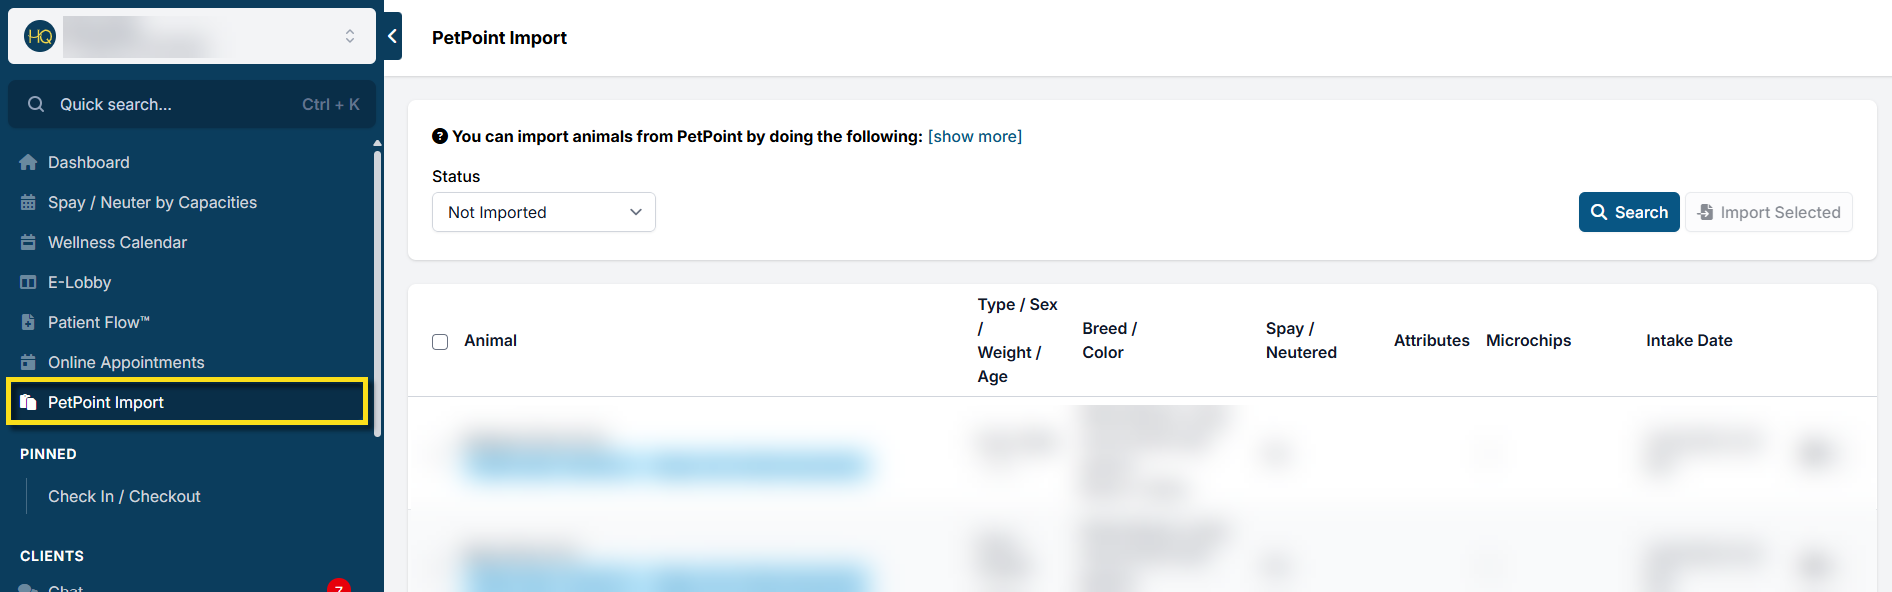
Accessing the tool
You'll notice a new link in your main navigation panel.
To learn how this tool works, visit this page.
Breed Mapping
PetPoint breeds are customizable for each organization, which means breed names can vary widely. To ensure accurate imports into Clinic HQ, you can now map your PetPoint breeds directly within your clinic settings.
You can find this feature under: Settings > Integrations > Shelter Add-On > Map Breeds.
Clinic HQ automatically maps the most common breeds for you. You’ll only need to manually map additional breeds if you see an error like this during an import:
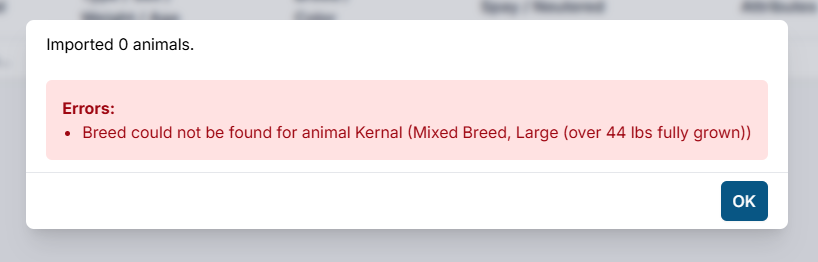
How to Map Breeds
- Go to Settings > Integrations > Shelter Add-On > Map Breeds.
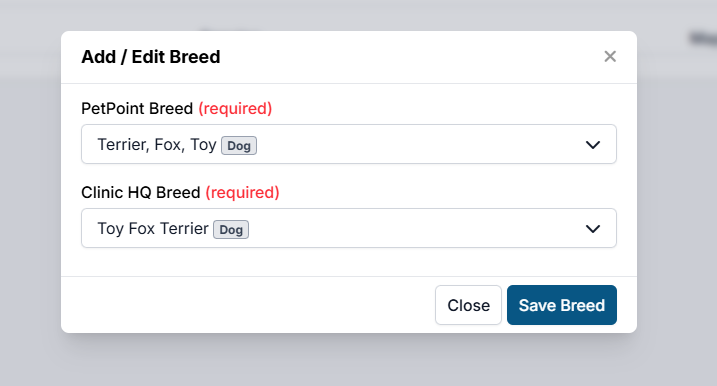
- Click Add Breed.
- Find the breed that needs mapping in the PetPoint Breed dropdown menu.
- Find the closest match in HQ using the Clinic HQ Breed dropdown menu.
- Click Save Breed.
24.9.2.1. Shelterluv Add On Cancelation
24.10. Divvy Setup
The divvy setup allows you to divide up roles/groups within your clinic. You can create animal groups here like "male cat" or "puppy". You can also create teams here, assigning a vet and naming the team. This is useful for larger clinics that may be working with multiple vets and is an essential setup step if you use Decentralized Controlled Drug Drawing.