Scheduling
4.9. Spay/Neuter Appointments by Time

Some clinics—such as mobile units—may choose to schedule specific time slots for spay/neuter appointments instead of using open check-in windows. While this adds complexity to scheduling, HQ’s time-based scheduling feature helps manage it efficiently.
❌ Important Note: This is a rare setting. If your clinic uses check-in windows, continue using HQ’s standard calendar. Do not enable this feature.
Enabling Time-Based Spay/Neuter Scheduling
By default, this setting is disabled.
To enable:
- Go to Settings > Clinic Profile > Preferences.
- Select Use time-based spay/neuter scheduling.
- Set the appointment duration. This determines how many slots will be available.
Scheduling Time-Based Spay/Neuter Appointments
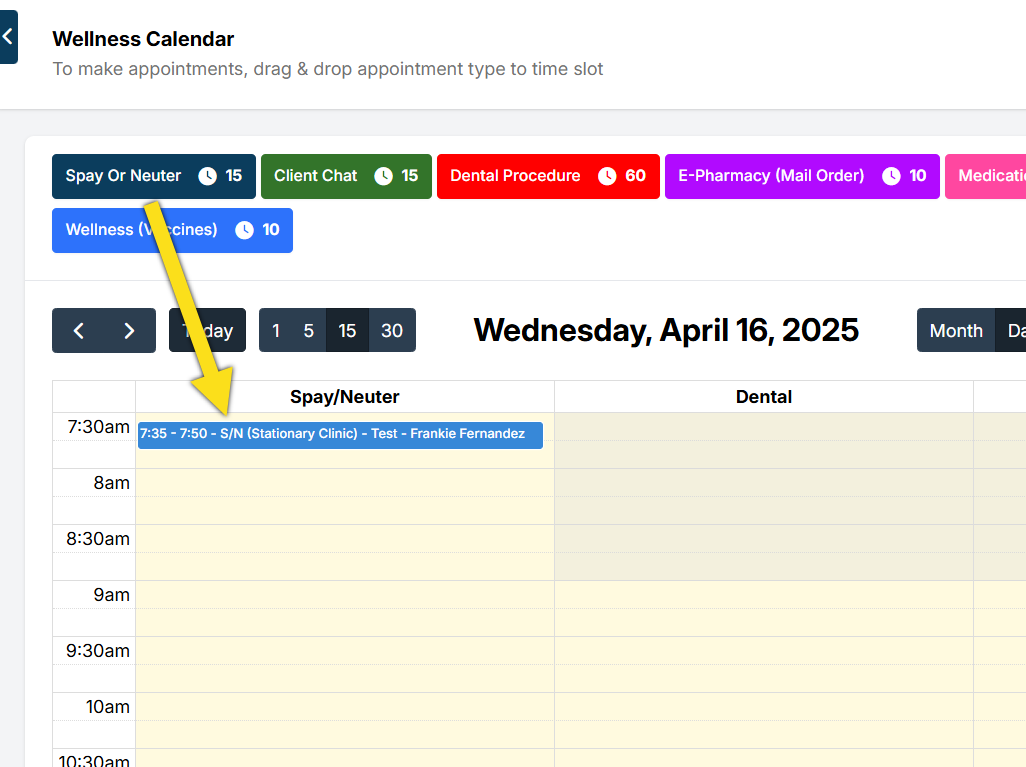
Using the Wellness Calendar
Once enabled, you’ll see a new Spay/Neuter room and a Spay or Neuter appointment type appear on the Wellness Calendar.
- Drag and drop the appointment type into the Spay/Neuter room for the desired time slot.
- On Step 3 – Confirm Appointment, you can view or adjust the start and end time.
- After scheduling, appointments can be viewed or edited on either the Wellness Calendar or the Capacities Calendar.
Using the Capacities Calendar
If you schedule through the Capacities Calendar:
- Appointments will not be automatically assigned start and end times. These must be entered manually before confirmation.
- Appointments created here will not appear on the Wellness Calendar.
Online Appointments (E-Appointments)
When clients request appointments online, they will be able to select an available date and time for spay/neuter services.